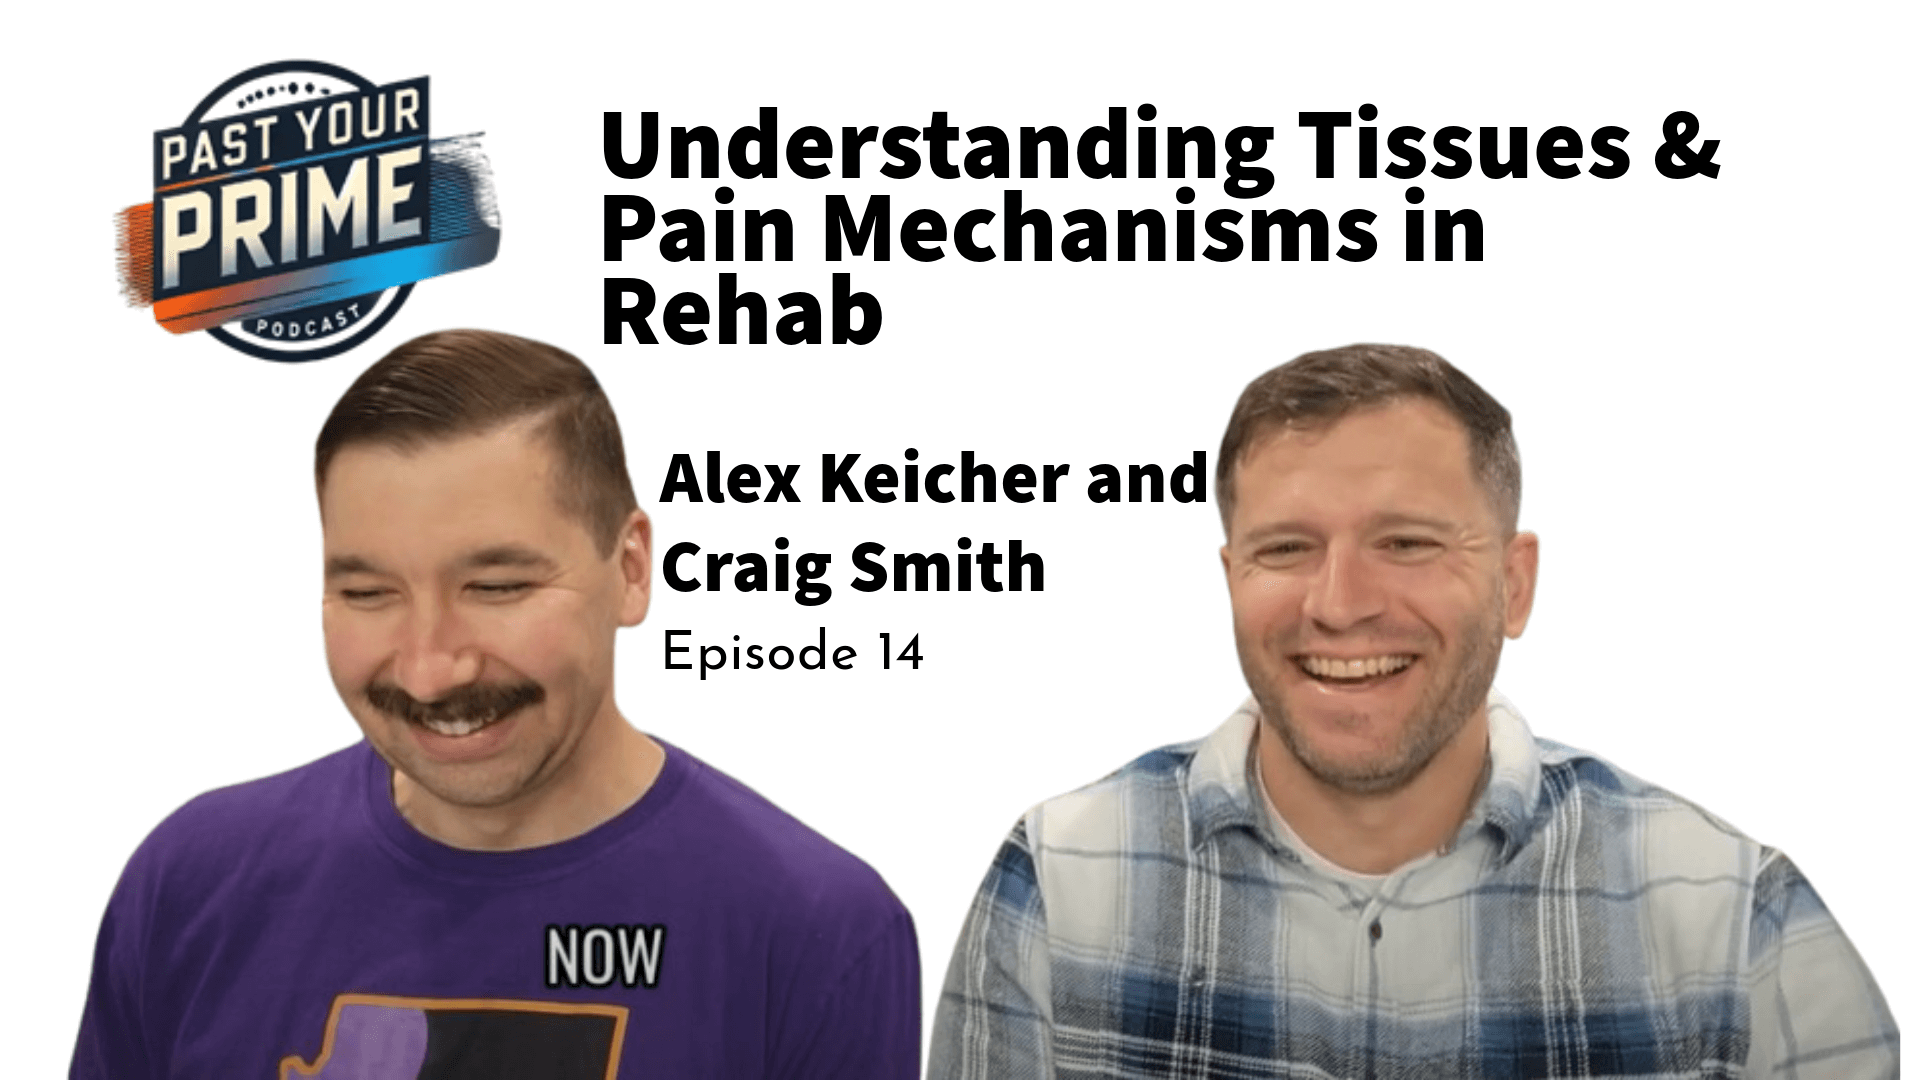
Past Your Prime – Episode 14 Recap
Ever finish a workout feeling great… only to wake up feeling like you got hit by a truck?
Welcome to Episode 14 of the Past Your Prime podcast, where we explore why you might be sore after exercise but no pain during the actual workout. We break down the nine tissues that cause pain and the mechanisms behind them—so you can stop guessing and start training smarter. If you’re tired of mystery flare-ups, recurring injuries, or workouts that keep setting you back, this episode is your guide to better rehab, smarter progression, and long-term performance.
Injury Updates (aka Keeping It Real)
Before diving into the science, Alex and I share our own rehab updates:
- Alex’s wrist: Still a problem. He won’t let me mobilize it. The nerve pain is lingering, but better than last week.
- Craig’s neck: Doing great — until 150 burpees made my back hate me.
- Alex’s mile run: More impressive than my burpees (apparently). And more pain-free.
The Main Topic: Nine Tissues, Nine Rules
Most people make rehab mistakes because they don’t know what tissue is injured or how that tissue responds to load. That matters. A lot.
Here’s our breakdown of the nine tissues, how they respond to exercise, and what not to do during rehab:
1. Bone
- What it does: Supports structure and absorbs force.
- Overload sign: Pain directly at the site, especially with palpation.
- Rule: Load is good — but only once pain-free. Don’t ignore fuel and nutrition.
2. Joint
- What it does: Allows motion and absorbs force.
- Overload sign: Loss of motion or increased stiffness.
- Rule: Don’t stretch an irritated joint. Traction and mobility work are better options.
3. Disc
- What it does: Acts as a shock absorber in your spine.
- Overload sign: Increased low back pain, especially in the morning.
- Rule: Know your tools (like traction and bracing). Don’t stretch. Respect flare-ups.
4. Ligament
- What it does: Connects bone to bone; stabilizes joints.
- Overload sign: Feeling unstable, swelling, or pain during weight-bearing.
- Rule: Don’t push through instability. Isometrics are your friend here.
5. Muscle
- What it does: Produces movement and absorbs force.
- Overload sign: Cramping, excessive soreness, or loss of muscle activation.
- Rule: DOMS can hide a strain. Avoid stretching a healing muscle. Build capacity slowly.
6. Tendon
- What it does: Transmits force from muscle to bone.
- Overload sign: Pain during or after exercise, lingering tightness.
- Rule: Tendons need load — but too much sets you back. Don’t chase soreness.
7. Tenosynovium
- What it does: The sheath around tendons, mainly in wrists and ankles.
- Overload sign: Swelling, pain with motion, or loss of flexibility.
- Rule: Absolutely no stretching. Modify positions to avoid tension.
8. Nerve
- What it does: Sends signals and sensations.
- Overload sign: Tingling, burning, weakness, or shocking pain.
- Rule: Stretching is a guaranteed setback. Use neural flossing, traction, and monitor key signs like grip strength.
9. Fascia
- What it does: Envelops muscles and contributes to global movement and tension.
- Overload sign: Unexplained aching or stiffness, especially in areas already ruled out.
- Rule: Fascia is tricky. Often a secondary issue. Soft tissue work can help, but don’t overlook more obvious culprits.

“Your workout felt fine — so why does it hurt now?”
Understanding the Three Pain Mechanisms
Not all pain equals damage. Understanding pain mechanisms helps you pick the right tools for recovery.
Nociceptive Pain
Pain tied to actual tissue damage—common in muscle, tendon, joint, and bone injuries.
Neuropathic Pain
Burning, shocking, or tingling sensations caused by irritated nerves.
Nociplastic Pain
The nervous system amplifies pain, even after tissues have healed. Often linked to long-standing or unexplained pain.
The Rehab Standard: The Big Takeaway
This entire episode ties back to what we call the Rehab Standard:
Don’t judge success by how hard you pushed. Judge it by how well your body handled the load. If you’re still sore, stiff, or dealing with symptoms 24–48 hours after a workout, it’s a red flag — and likely a tissue-specific overload you didn’t catch.
How to Progress Safely
- Pick a key sign to track recovery (e.g., grip strength for nerve, range of motion for joint).
- Match your program to the tissue’s healing timeline.
- Monitor for symptoms during, immediately after, and the next day — not just in the moment.
Join the Conversation
Have a knee issue or want your case featured in a future Comments Section? Drop a comment on YouTube or ASK A QUESTION.
Follow us on Instagram:
Craig Smith | Alex Keicher


